This guide explains how to create a shared calendar in Neyrova and provide access to a client, manager, or director.
A shared calendar allows users to review scheduled posts, approve or reject content without creating a separate Neyrova account. All communication regarding content approval takes place directly within the platform.
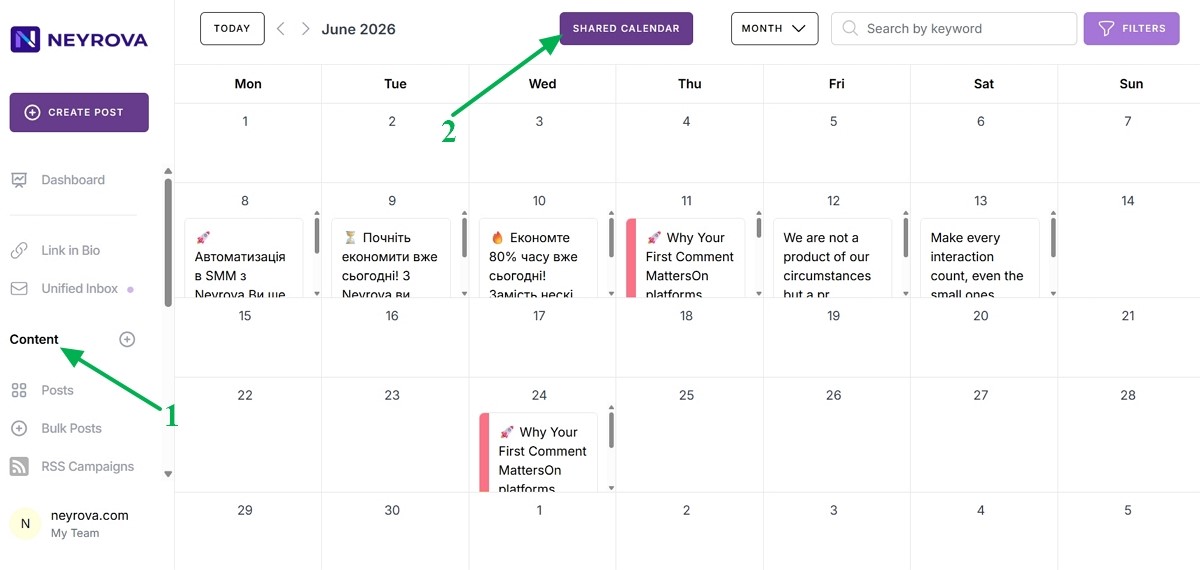
1. Open the Calendar Section
In the Neyrova dashboard, go to the main menu and click Calendar.
Here you can view the publishing calendar for your profiles and scheduled content.
2. Open Shared Calendar
At the top of the interface, locate the Shared Calendar button and open this section.
This is where shared calendars for clients or managers are created and managed.
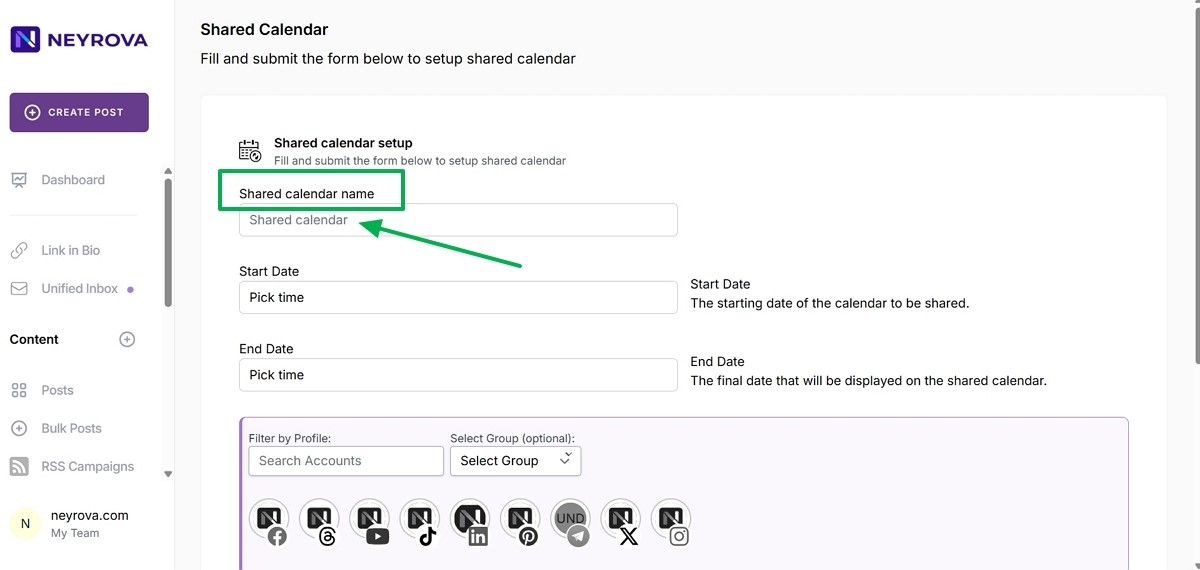
3. Create a Shared Calendar Setup
Click Create Shared Calendar Setup to start configuring a new shared calendar.
In this section, you can define the calendar name, access period, profiles, and post approval settings.

4. Enter a Shared Calendar Name
Enter a calendar name that will be easily recognizable to the client.
For example, you can use the name of a brand, project, or company for which the calendar is being created.
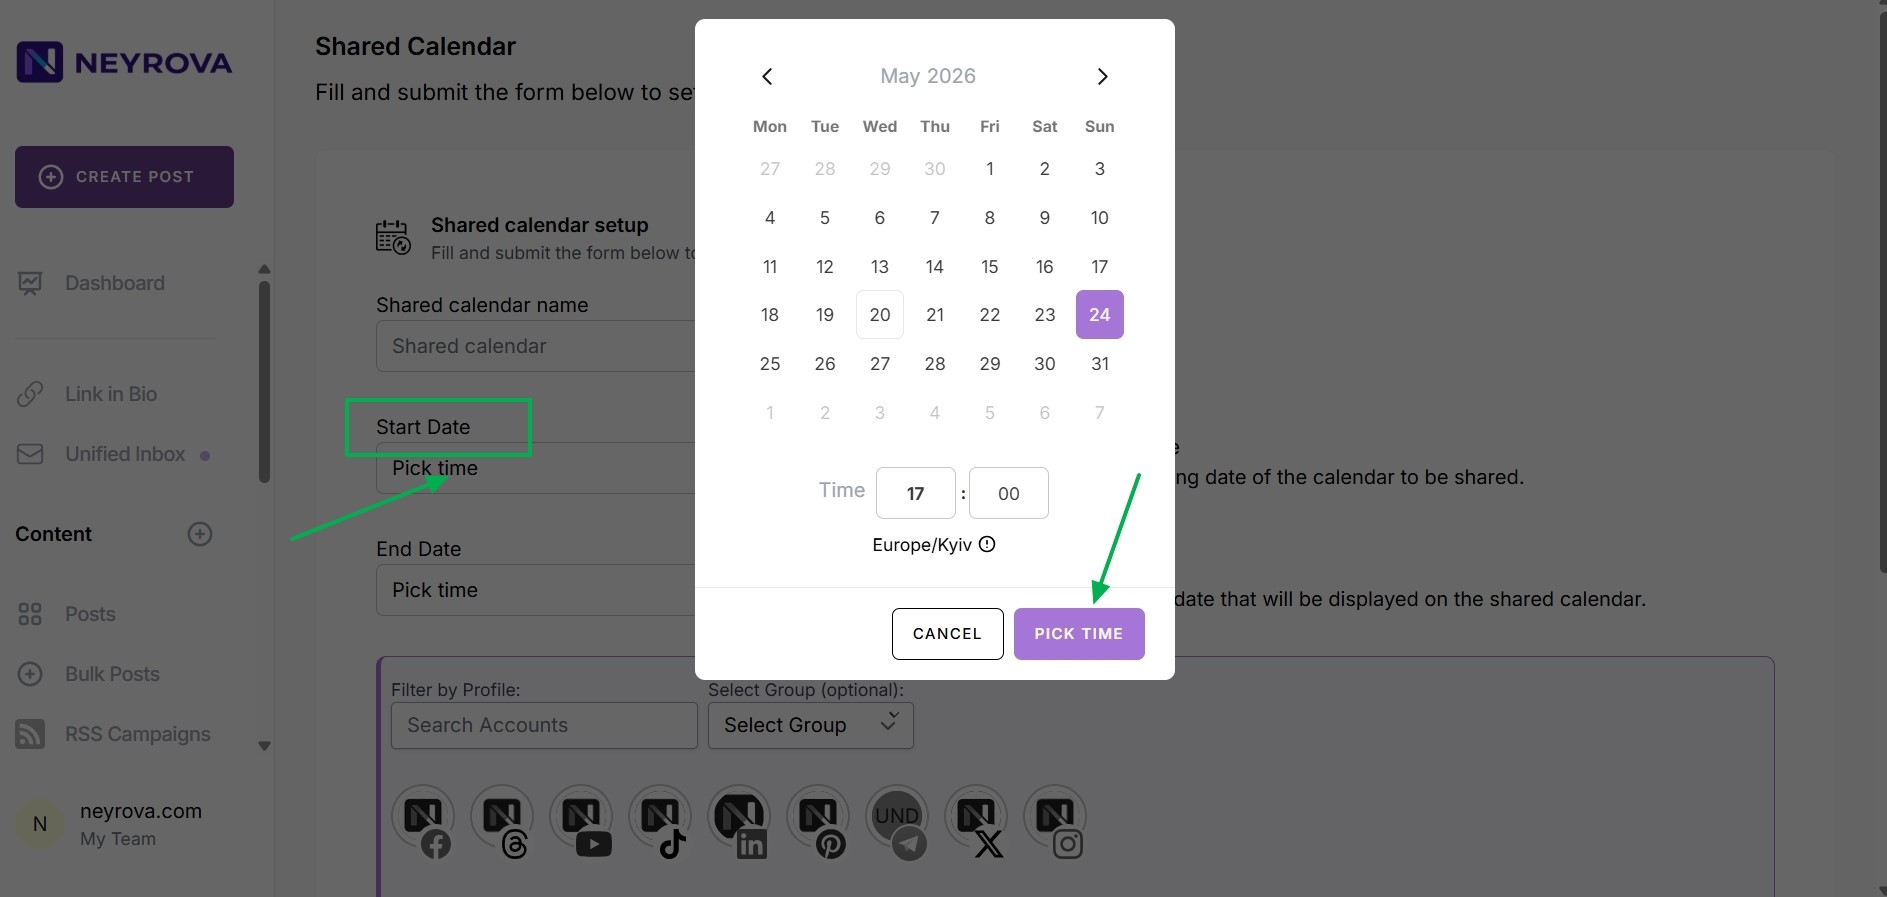
5. Set the Access Period for the Shared Calendar
In the Start Date field, specify the date and time when access should begin.
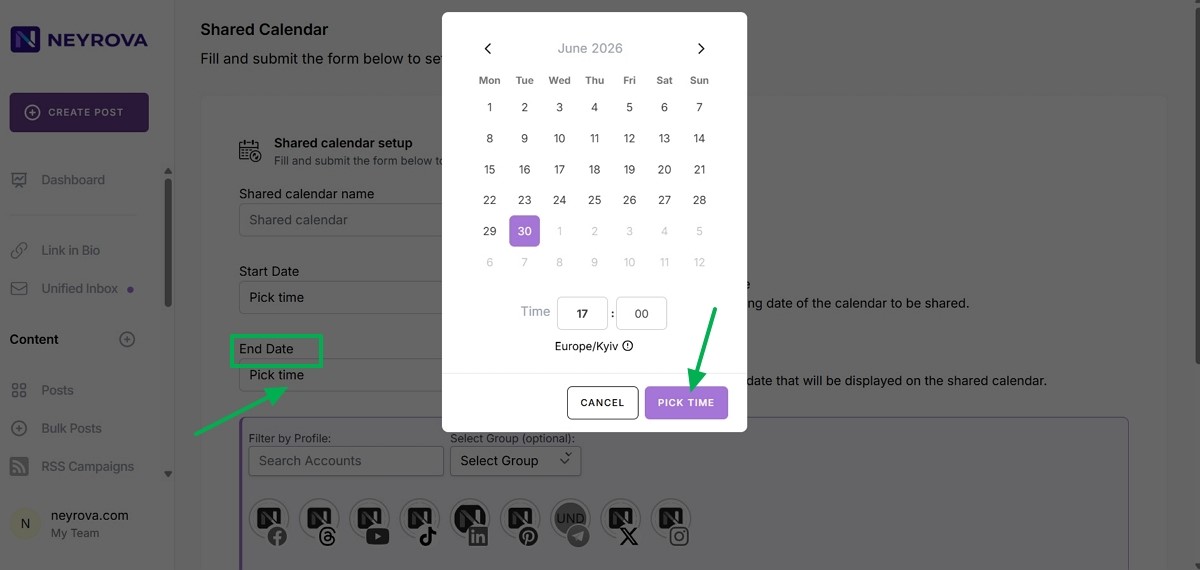
In the End Date field, specify the date and time when access should end.
The start date determines when the calendar becomes available to the client.
The end date determines how long the shared calendar will remain accessible through the shared link. End Date is the final date that will be displayed in the shared calendar.
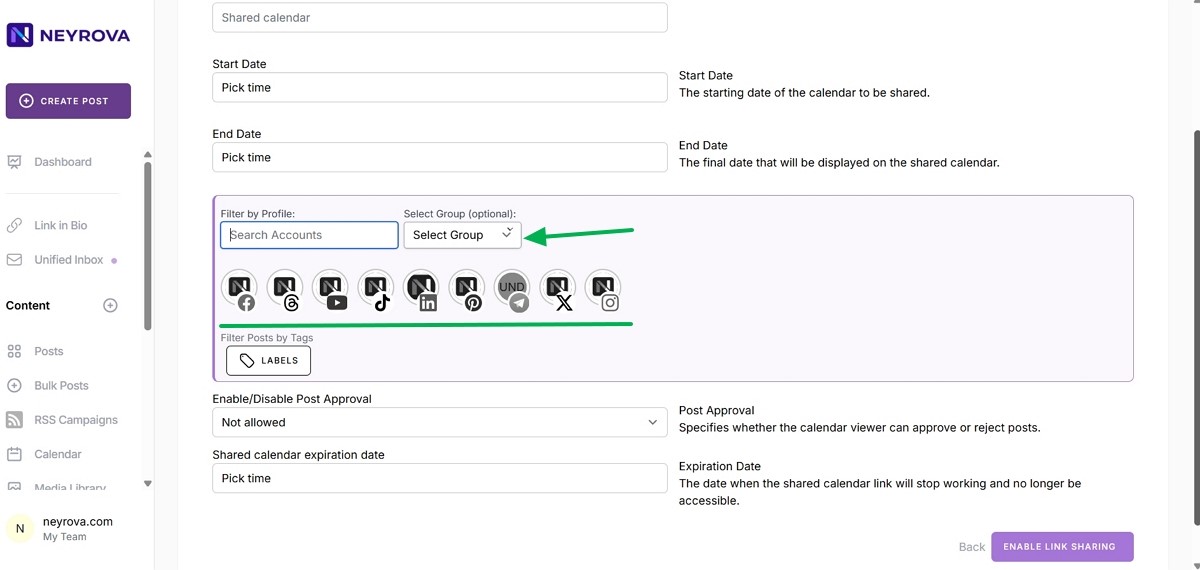
6. Select Profiles for the Shared Calendar
Choose the social media profiles that should be included in the shared calendar.
You can add multiple individual profiles or select a specific group of profiles that you manage.
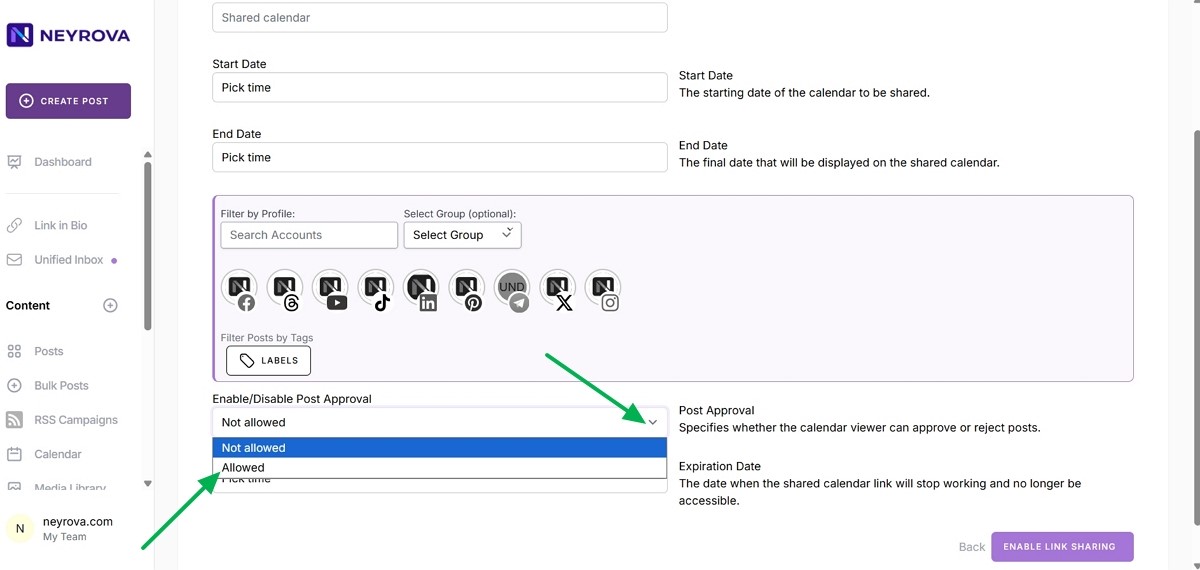
7. Enable Post Approval
In the approval settings, enable the option that allows clients to approve or reject posts: Enable/Disable Post Approval → Allowed. If you select Not Allowed, the client will only be able to view the calendar.
This allows the client not only to review the calendar but also to make decisions regarding scheduled posts.
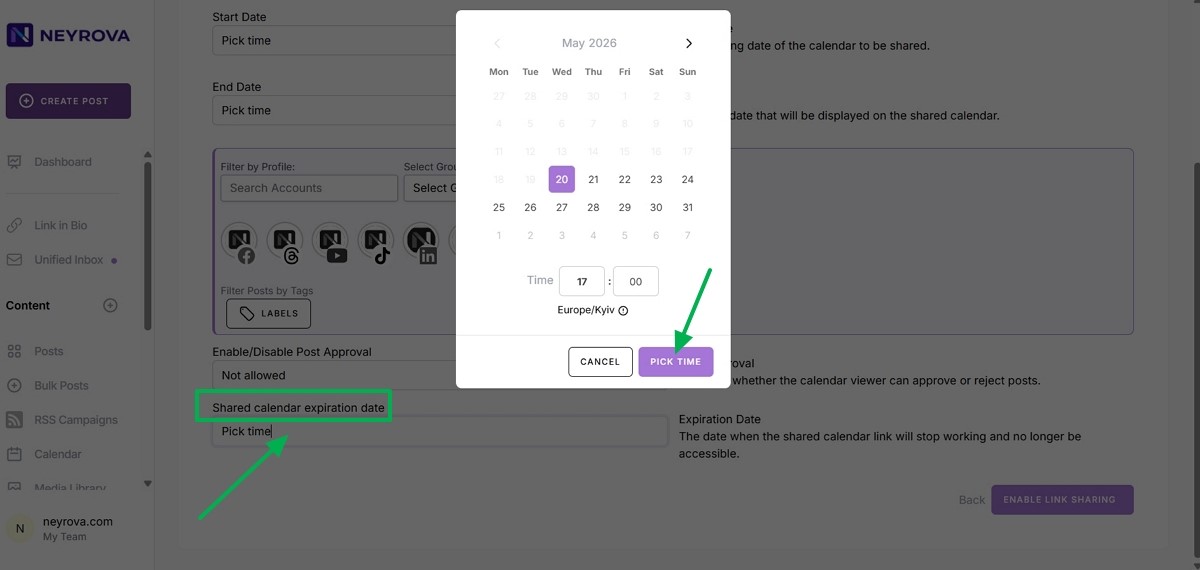
8. Set the Shared Calendar Expiration Date
Specify the date after which access to the shared calendar link will be disabled.
This helps limit the viewing period and control access to your content.
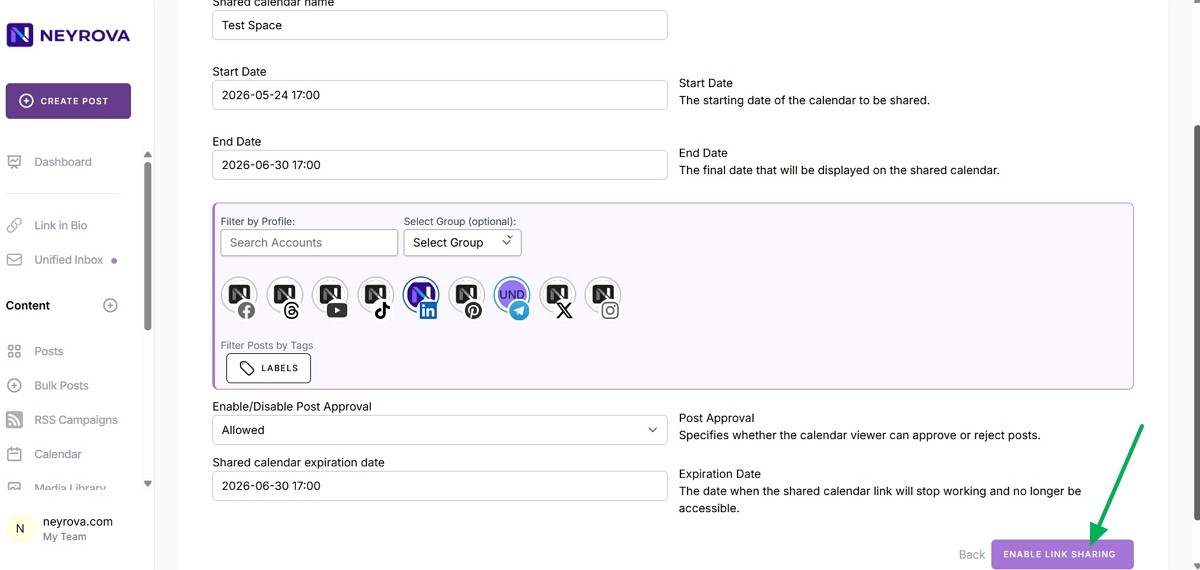
9. Enable Link Sharing
After configuring the calendar, click Enable Link Sharing.
Neyrova will generate a shared calendar link and redirect you to the list of shared calendars.
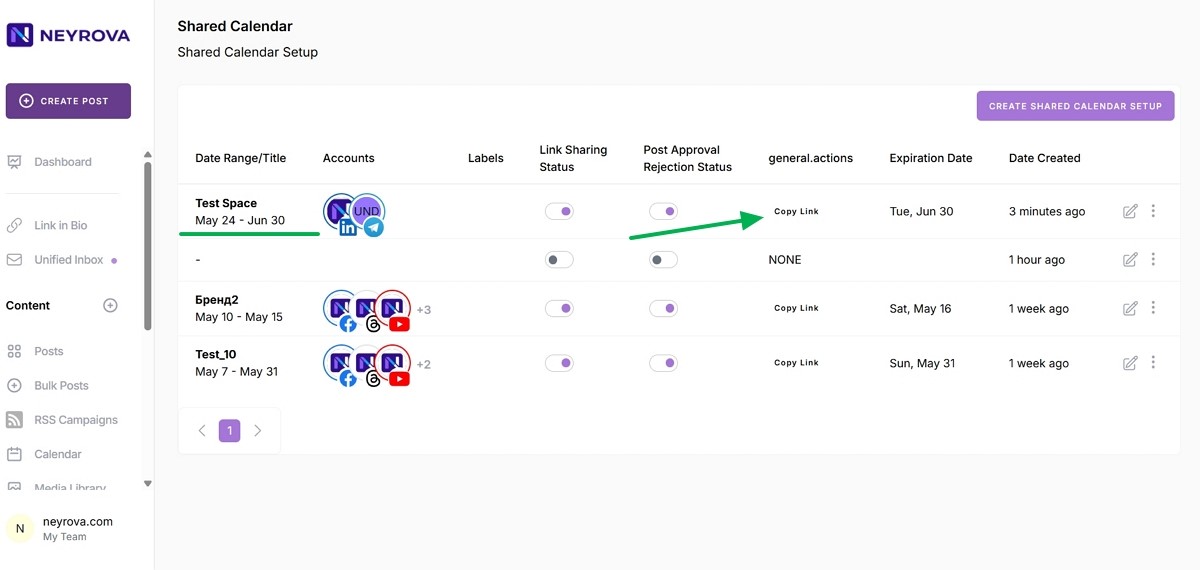
10. Copy the Calendar Link
In the shared calendars list, copy the generated link.
This is the link you should send to the client, manager, or director for reviewing and approving posts.
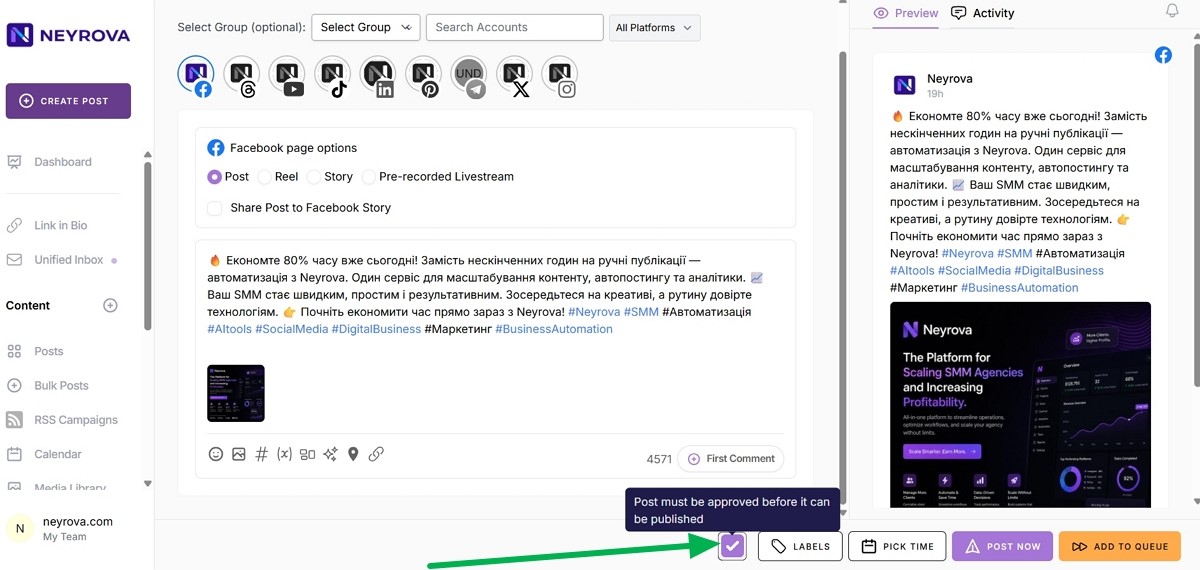
11. Mark a Post as Requiring Approval
To allow the client to approve a specific post, enable the Approval Required option when scheduling the post.
When creating the post, select the appropriate client profile and enable the Post must be approved approval setting.
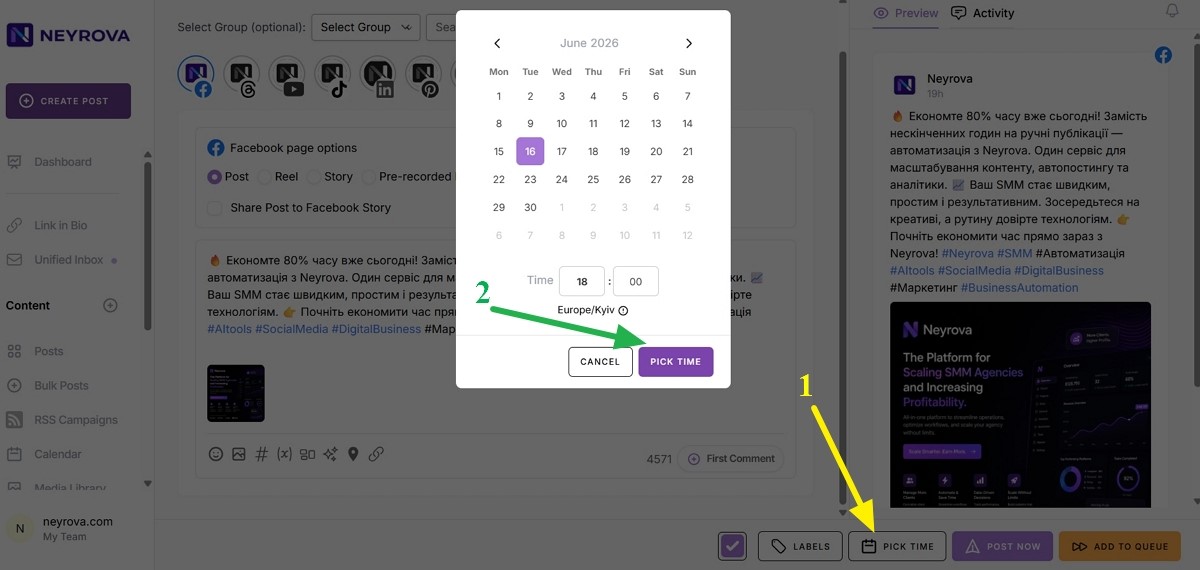
12. Schedule the Post
Set the publication date and time, then schedule the post.
The post will receive a pending approval status and will become available to the client in the shared calendar.
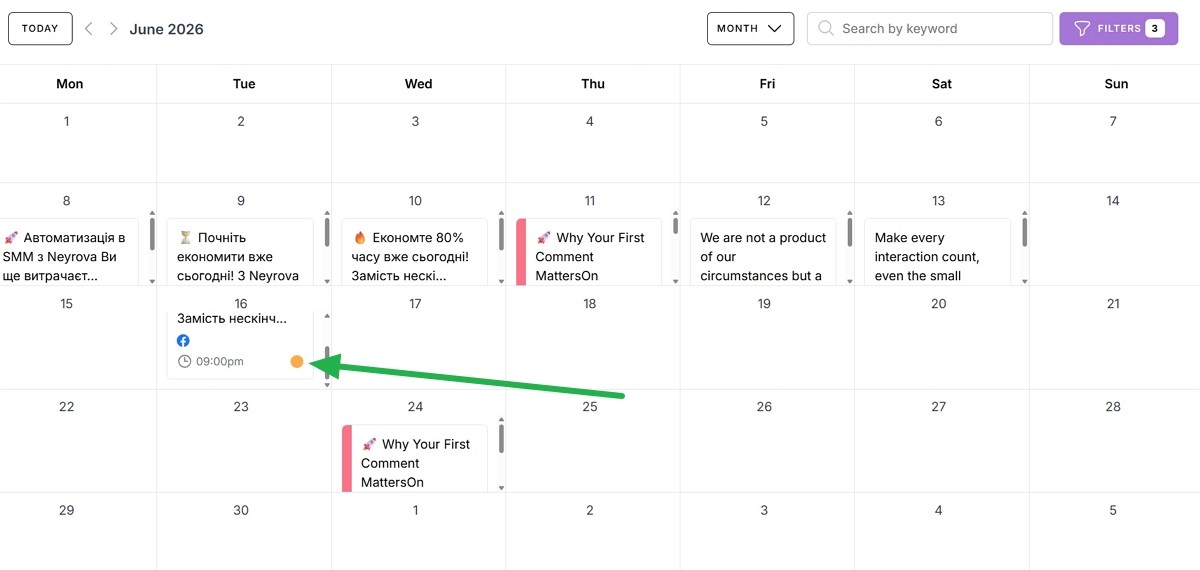
13. Check How the Client Sees the Calendar
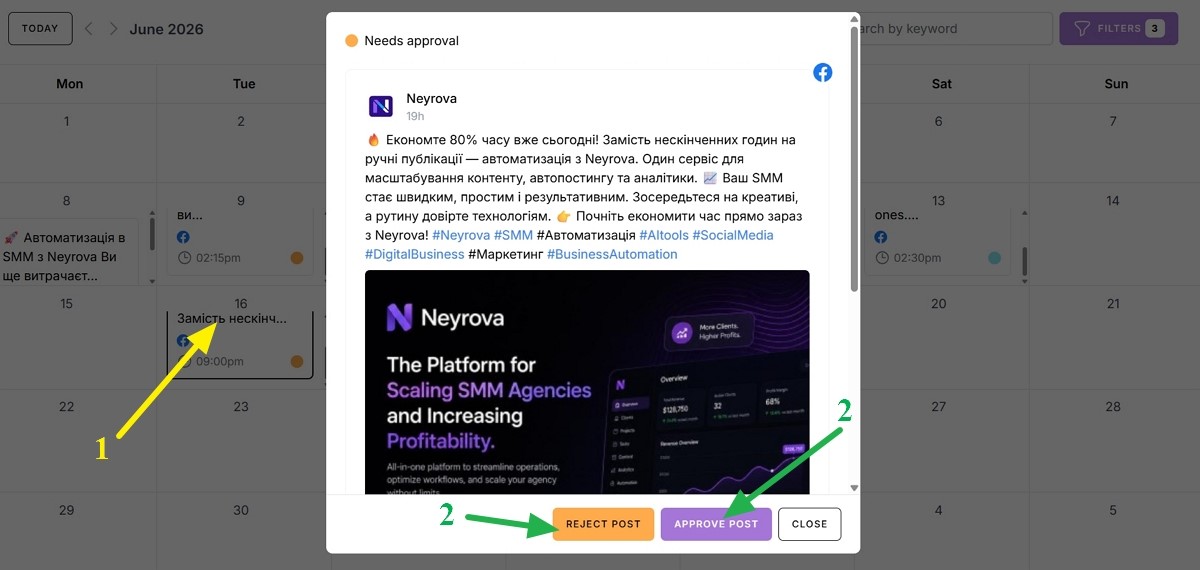
When the client opens the shared calendar using the link copied in step 10, they will be able to view all scheduled posts.
After selecting a post, the client will see buttons to approve or reject the publication:
14. Track the Approval Status
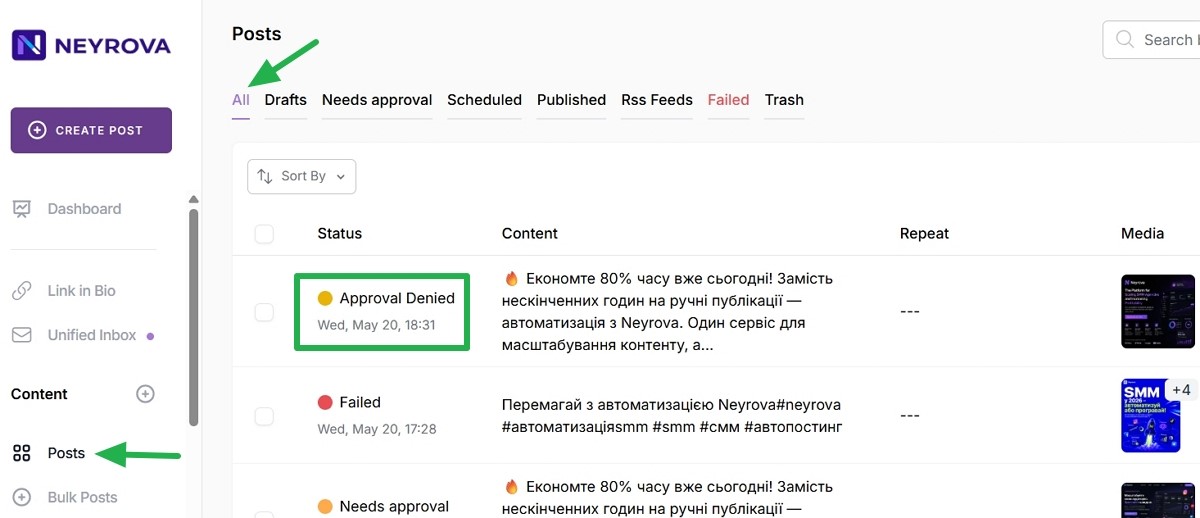
If the client approves the post, it will be published at the scheduled time.
If the client rejects the post, it will receive the Approval Denied status. You can monitor post statuses in Neyrova and manage the approval workflow.
Summary
Shared Calendars in Neyrova allow you to provide clients or managers with access to scheduled content without creating a separate account.
Clients can review, approve, or reject posts, while you maintain full control over publication statuses and content workflows within a single collaboration process.