This guide explains how to create a Link in Bio page in Neyrova, customize its appearance, configure SEO settings, structure the page, and add the necessary blocks.
A Biolink page is a landing page with multiple links that can be used on Instagram, TikTok, Facebook, YouTube, and other social media platforms. You can create separate pages for different social networks.
1. Sign In to Your Neyrova Account
Enter your email address and password, then click Login.
After signing in, your Neyrova dashboard will open.
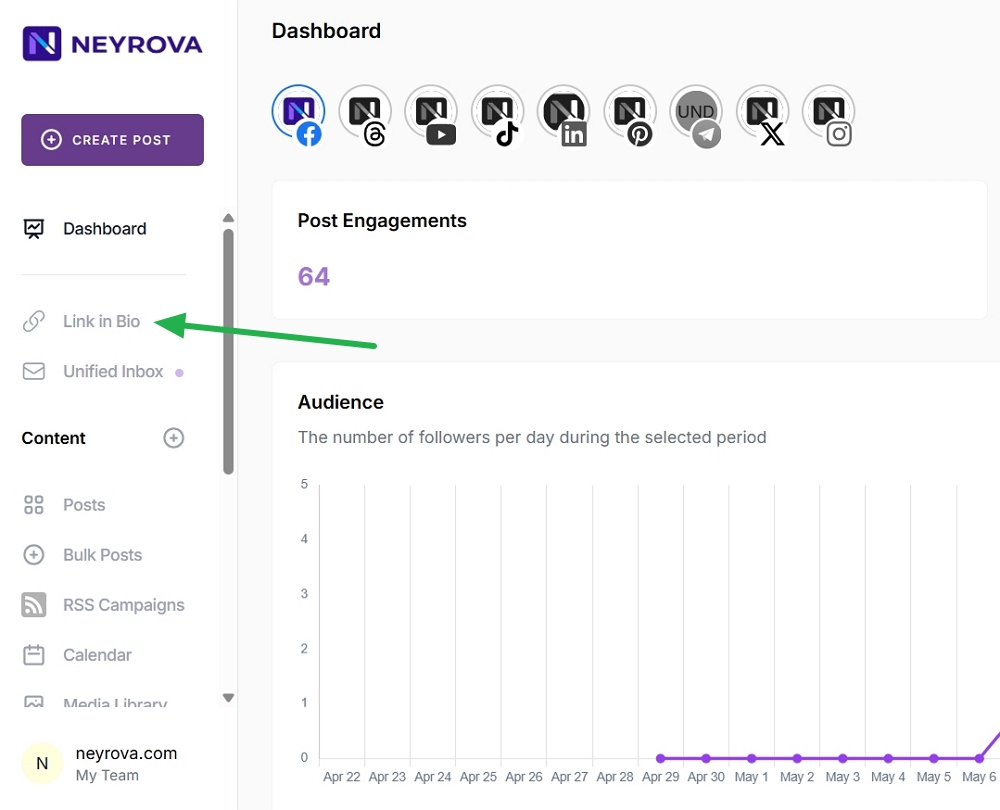
2. Open the Link in Bio Section
In the dashboard, click Link in Bio.
This section allows you to create and manage your biolink pages.
3. Create a New Link
Click the + Create Link button.
From the list of link types, select Biolink Page.
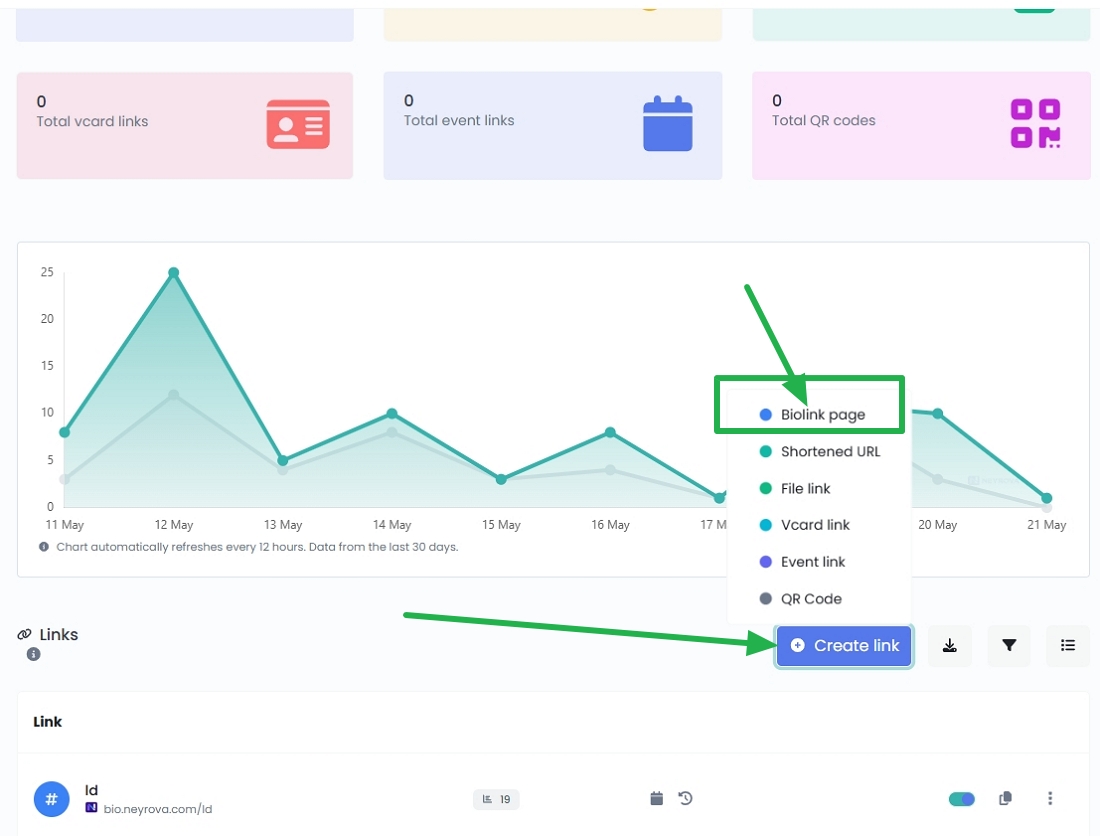
Choose Biolink Page from the available link types.
Alternatively, click the icon at the top of the page:
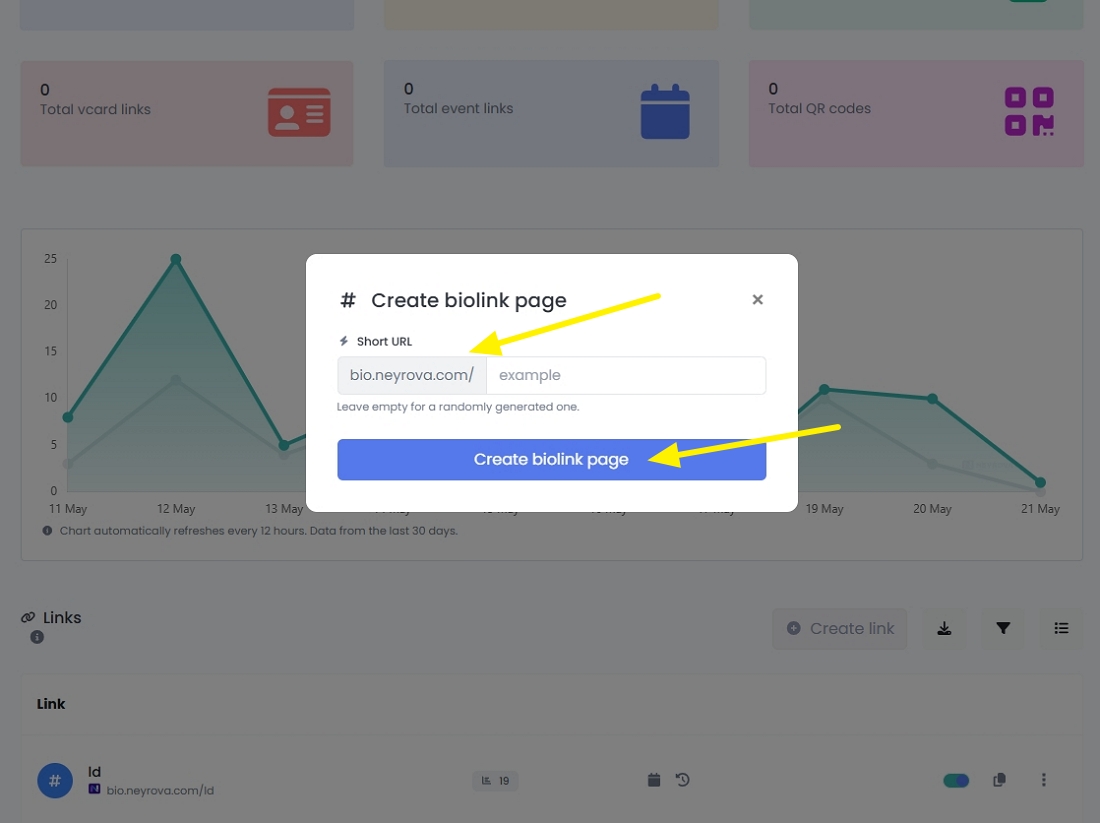
4. Set Your Page URL
You can specify a custom URL or leave the field blank and let the system generate one automatically.
Enter your preferred alias and click Create Biolink Page.
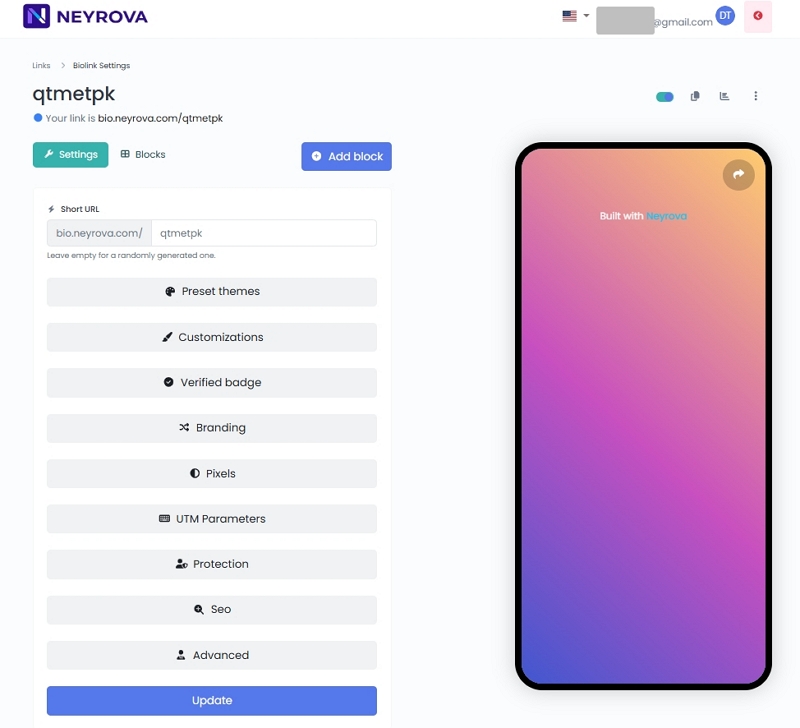
5. Open the Page Settings
After creating the page, your biolink page will open automatically.
Below the page preview, you will see two main buttons. Click Settings and Block to configure and customize your page.
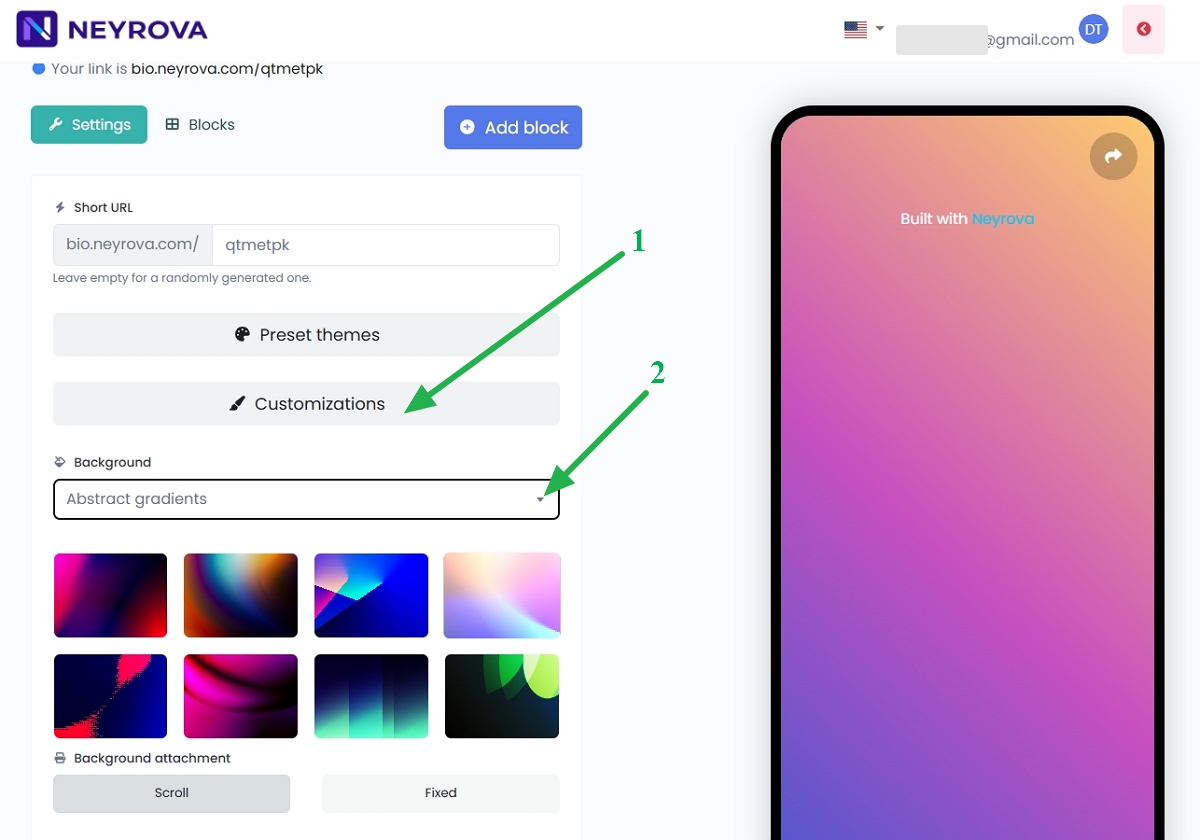
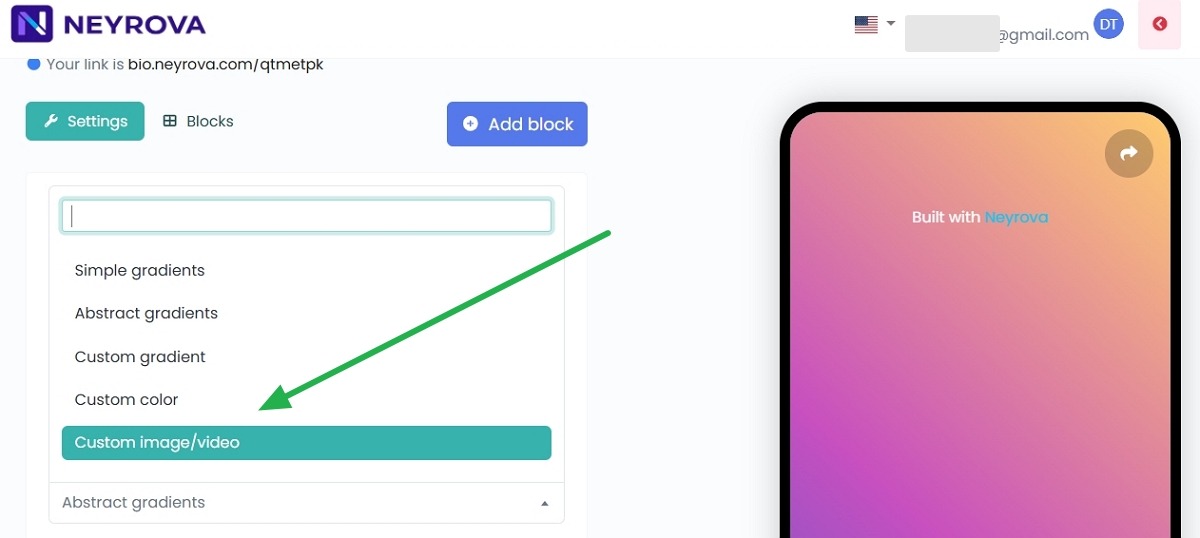
6. Customize the Page Appearance
Open the Customization section.
Here you can change the page background by selecting a color, gradient, or even a video background.
Choose an option that matches your brand identity or marketing campaign.
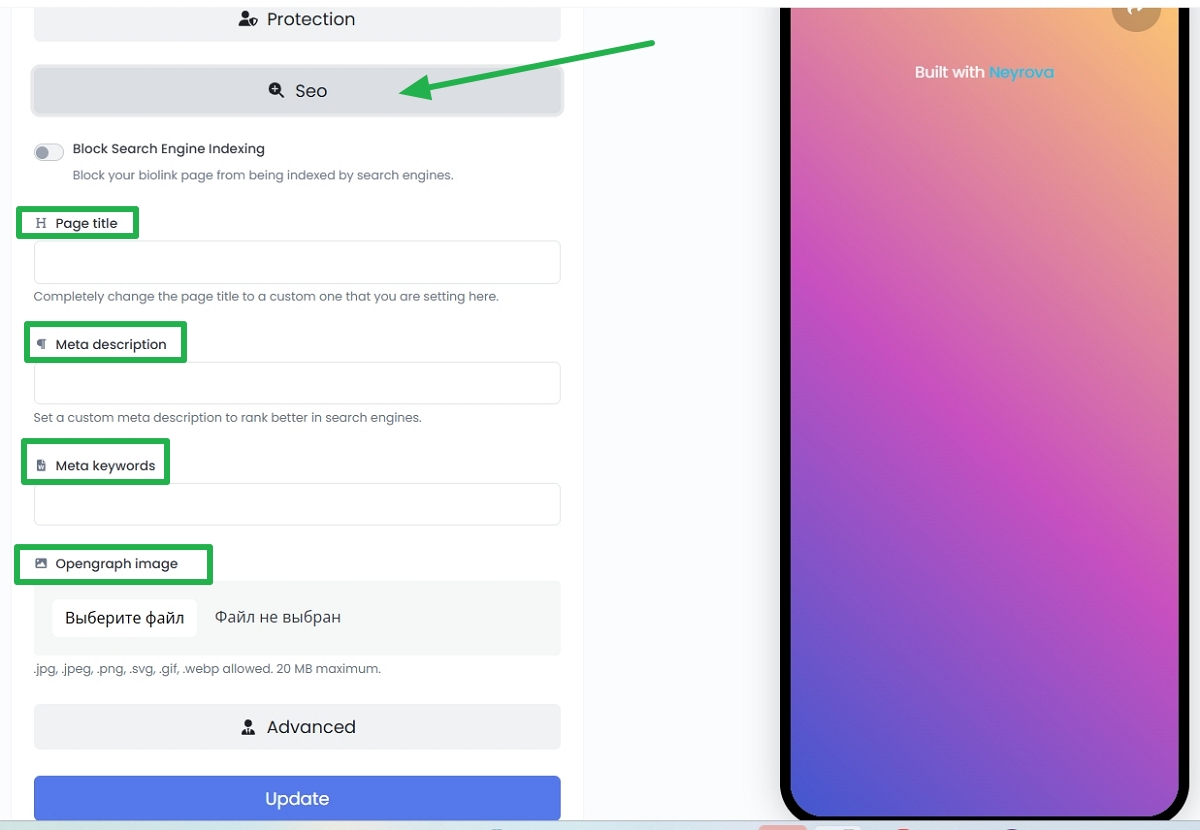
7. Configure SEO Settings
Add SEO information in the page settings:
- Page Title — Enter a custom page title. This is the main title shown to users and search engines.
- Meta Description — Add a short description of the page to improve search visibility.
- Meta Keywords — Enter keywords related to your page content.
- Open Graph Image — Upload an image (.jpg, .jpeg, .png, .svg, .gif, .webp, up to 20 MB). This image will appear when your page is shared on social media.
These settings help search engines and social platforms generate a better preview of your page.
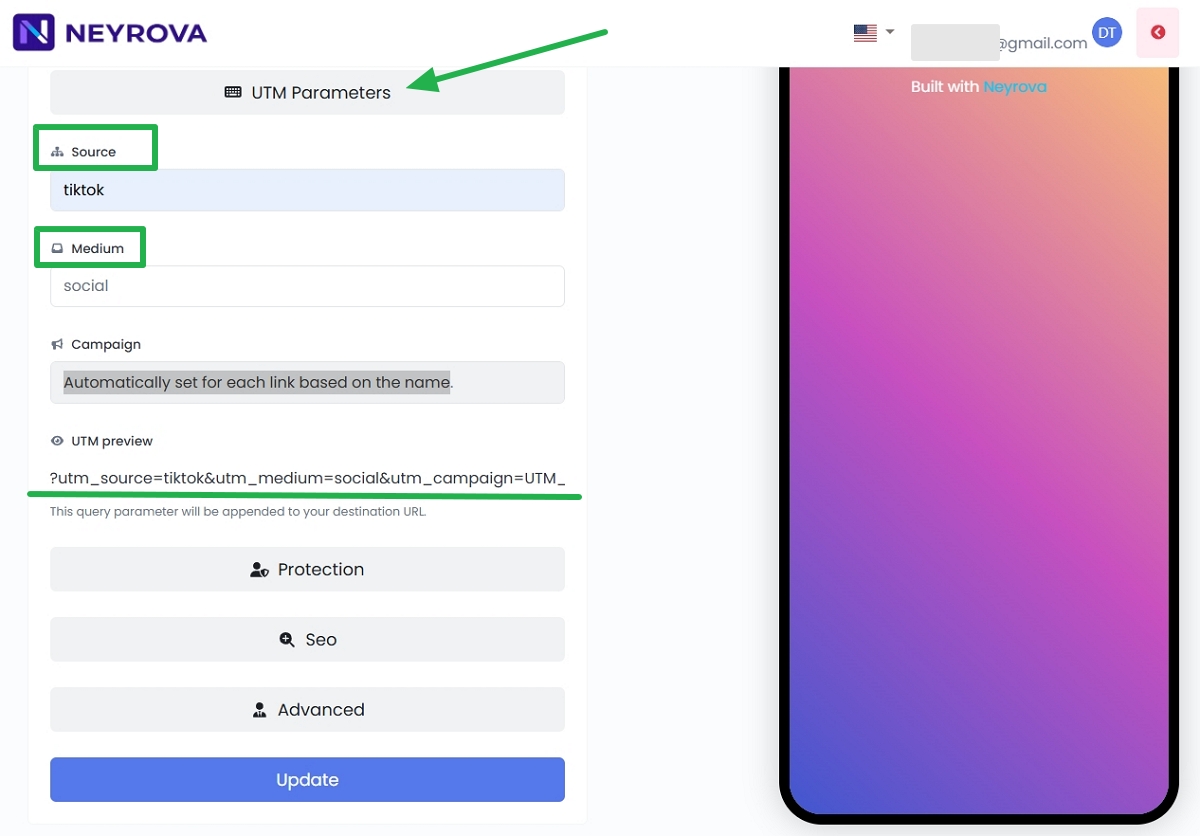
8. Add UTM Parameters
In the UTM section, specify values for medium and source.
This allows you to track visits to your biolink page more accurately in analytics tools.
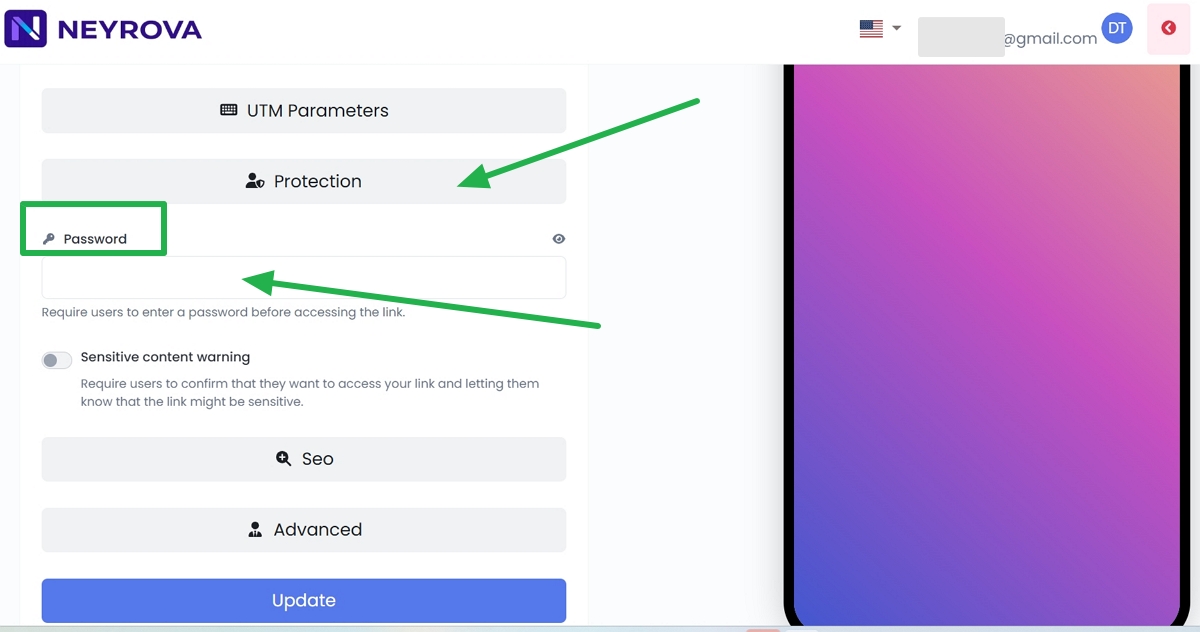
9. Configure Page Access
If you leave the password field empty, the page will remain publicly accessible.
If access restrictions are required, set a password.
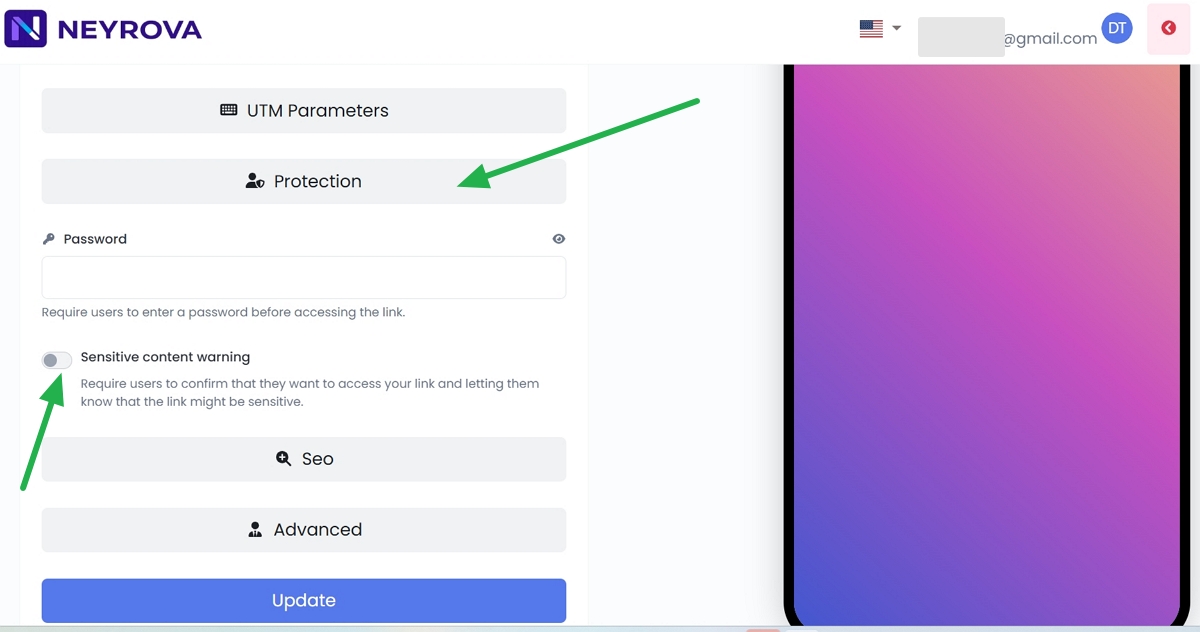
10. Enable Sensitive Content Warning
If your page contains content that requires a warning, enable the Sensitive Content Warning option.
This will display a warning message before visitors can access the page.
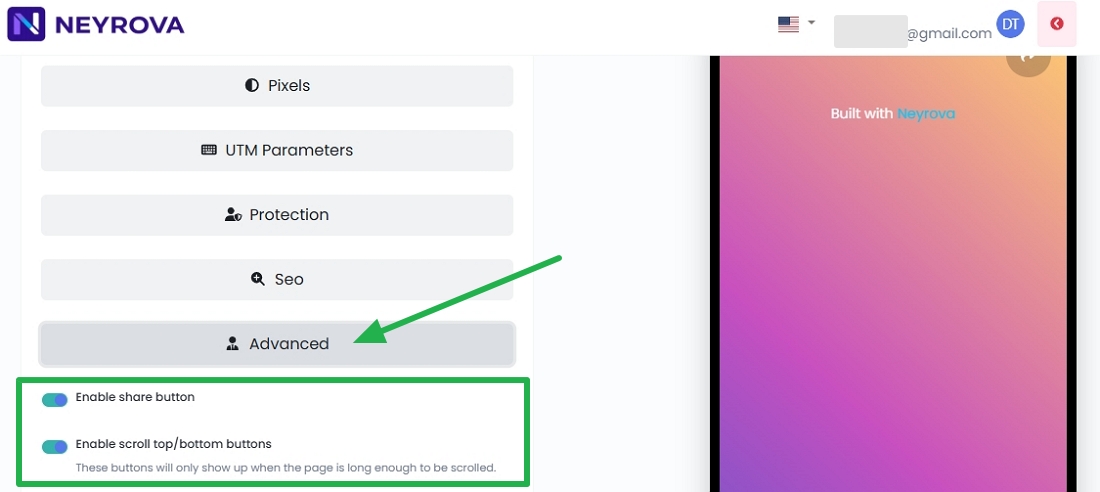
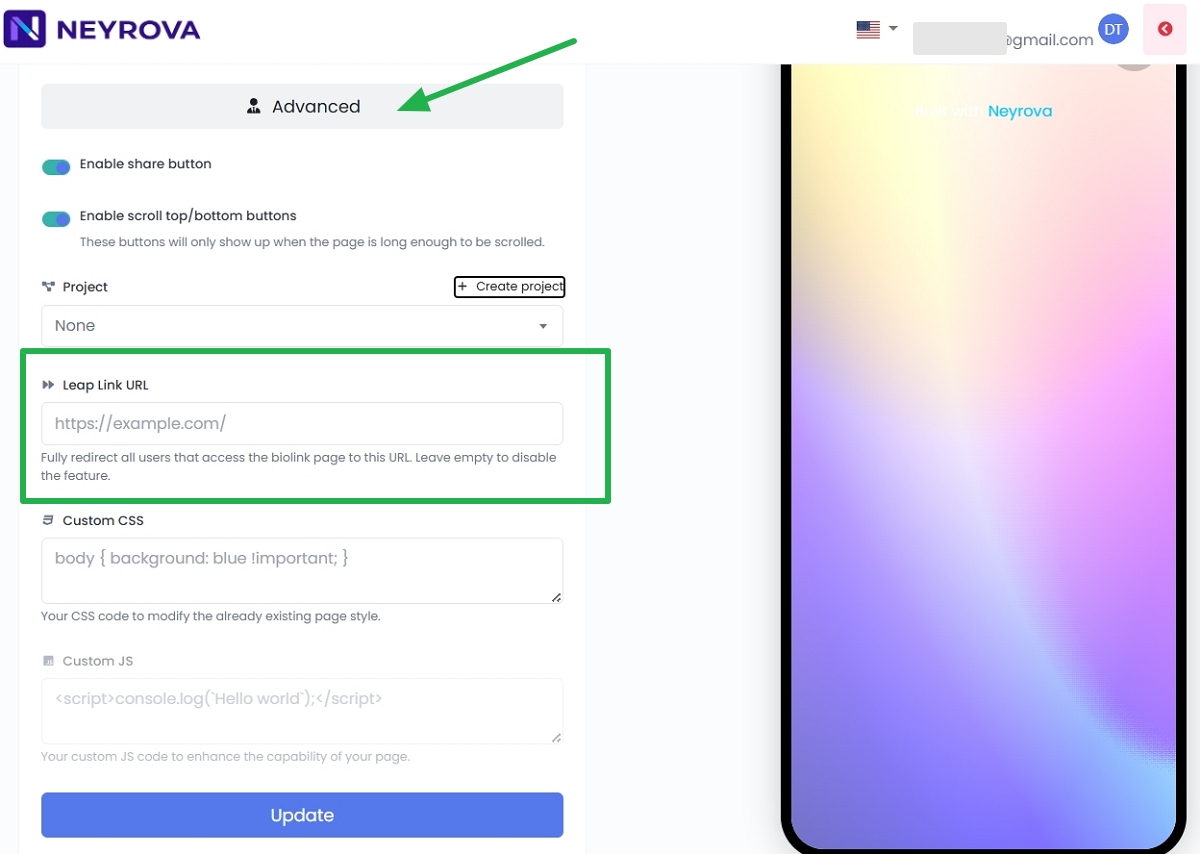
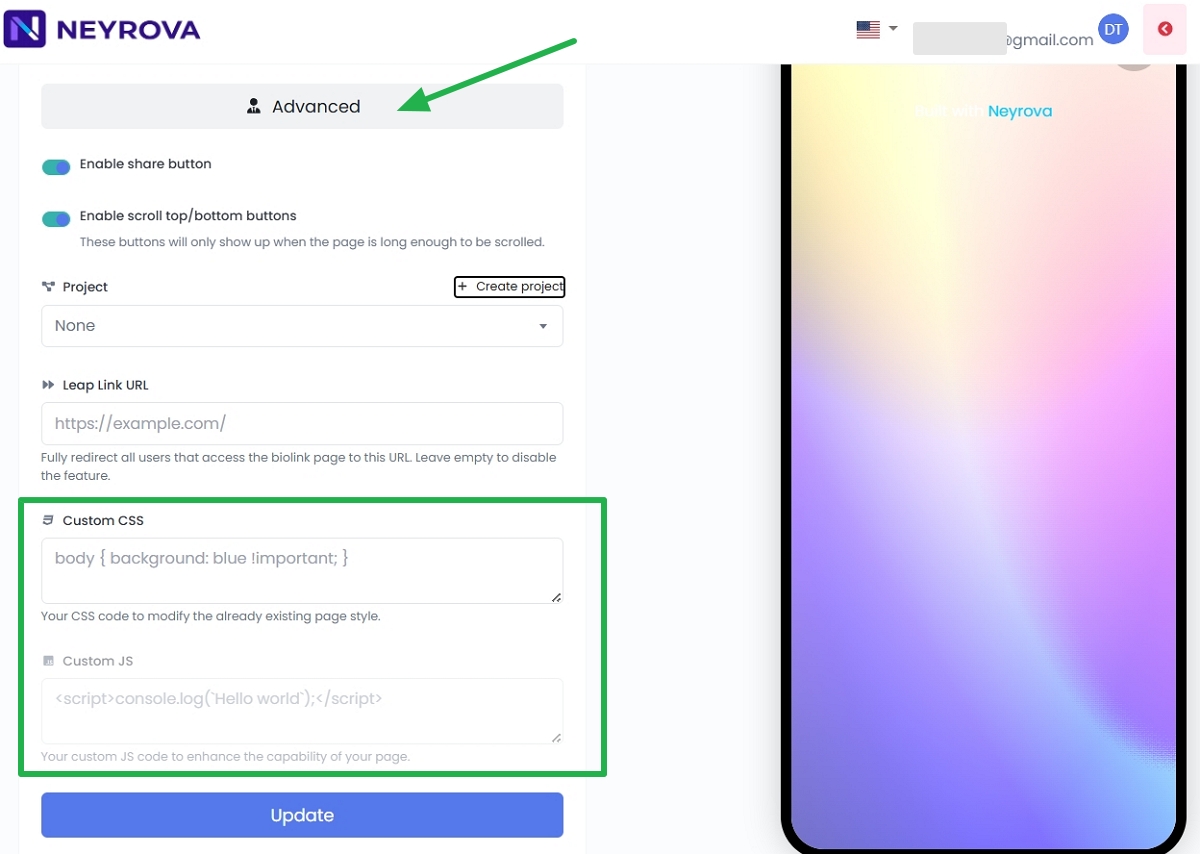
11. Configure Advanced Settings
Open the Advanced section.
Enable Share Button — Enable or disable the share button, allowing visitors to quickly share your page.
Enable Scroll Top/Bottom Buttons — Enable navigation buttons that allow users to quickly scroll to the top or bottom of the page.
12. Configure Leap Link (Optional)
The Leap Link feature allows you to redirect all visitors from your biolink page to another URL automatically.
If you do not need this functionality, leave the field blank.
13. Add Custom CSS or JavaScript
If needed, you can add custom CSS or JavaScript for advanced customization.
Use these fields only if you know exactly what modifications you want to make.
14. Save Your Settings
After completing the configuration, click Update.
This saves all changes made to your Biolink page.

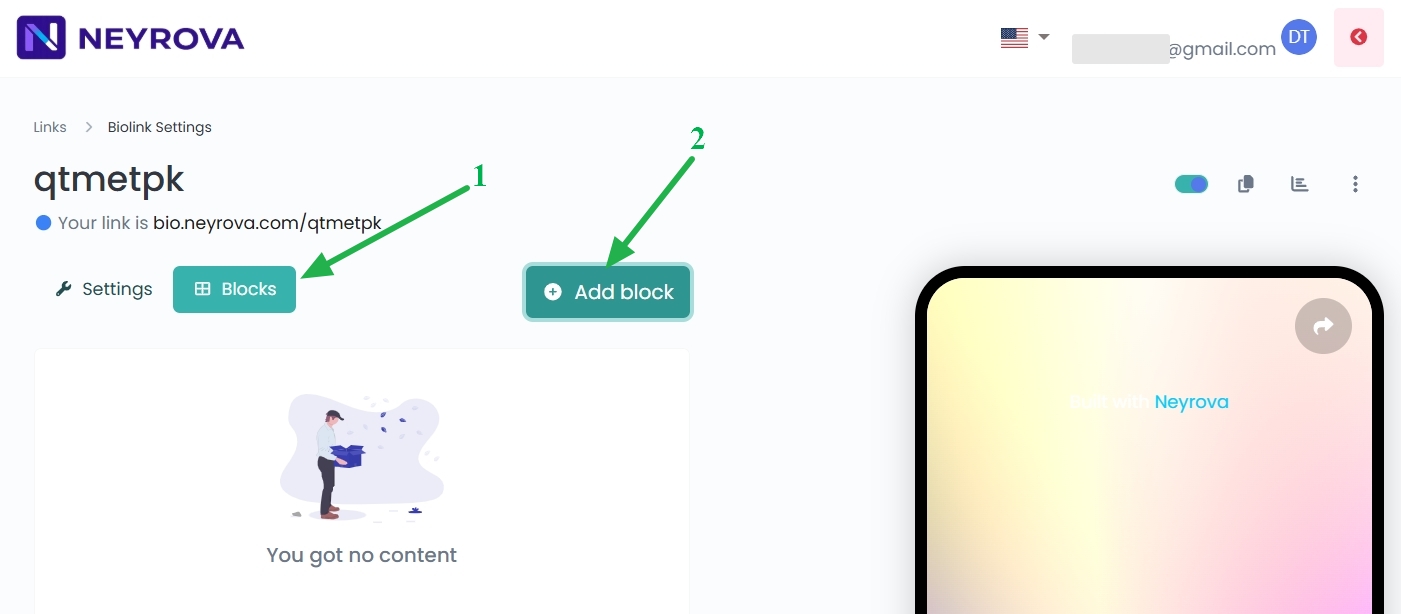
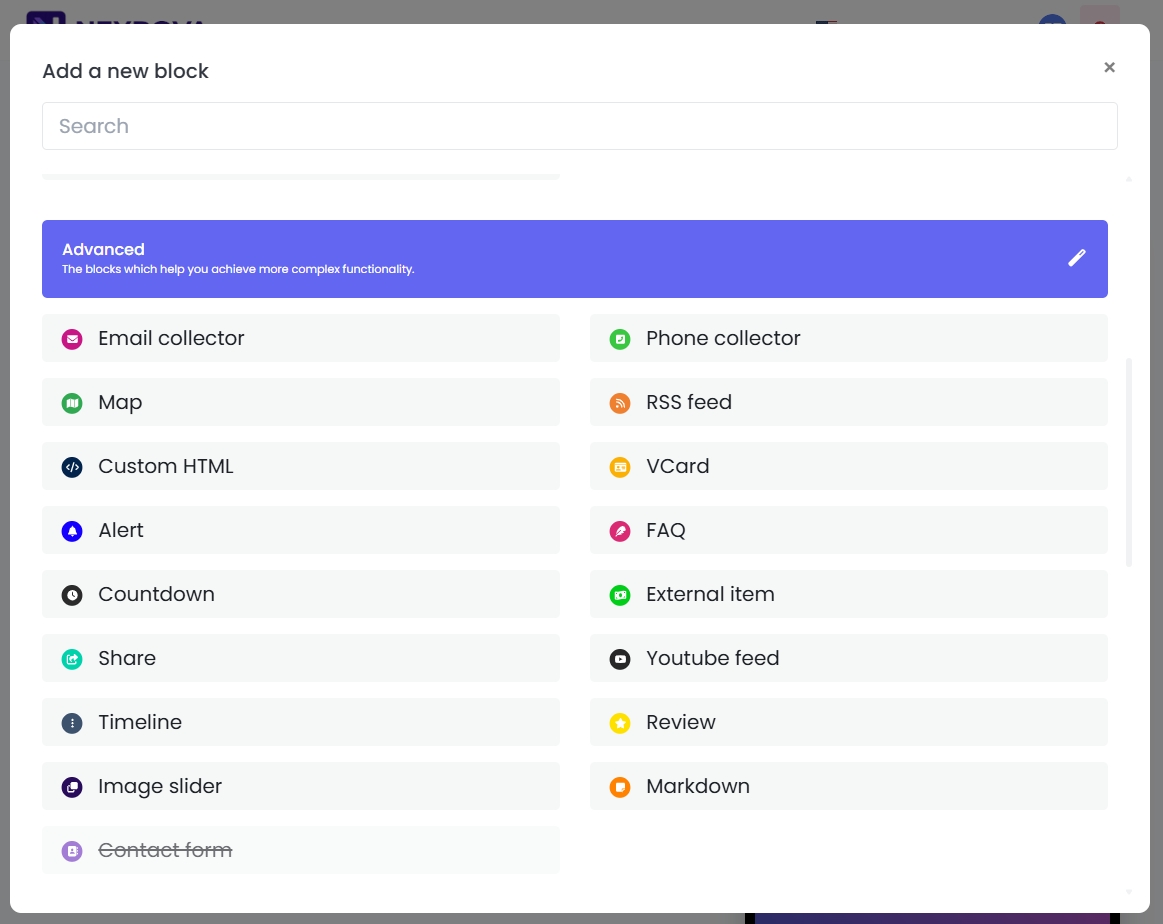
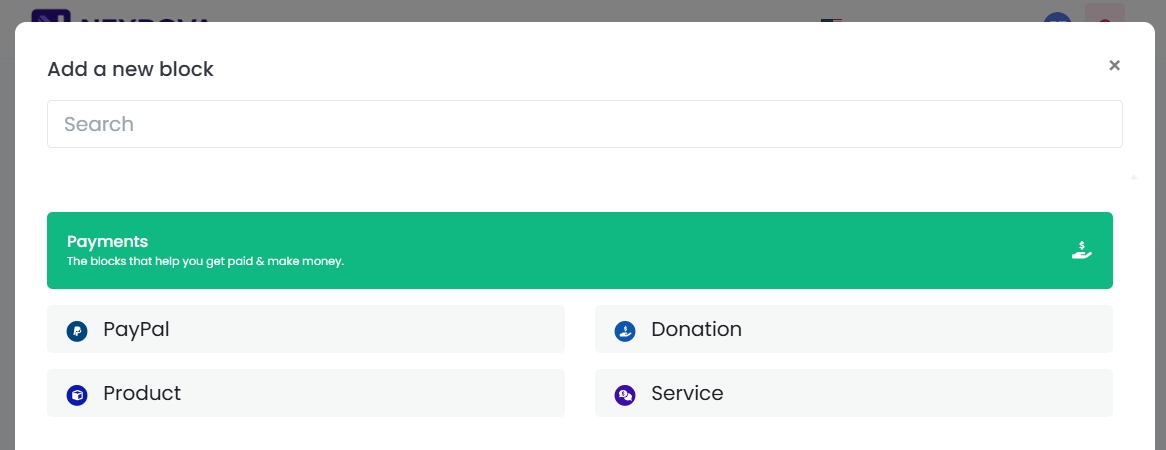
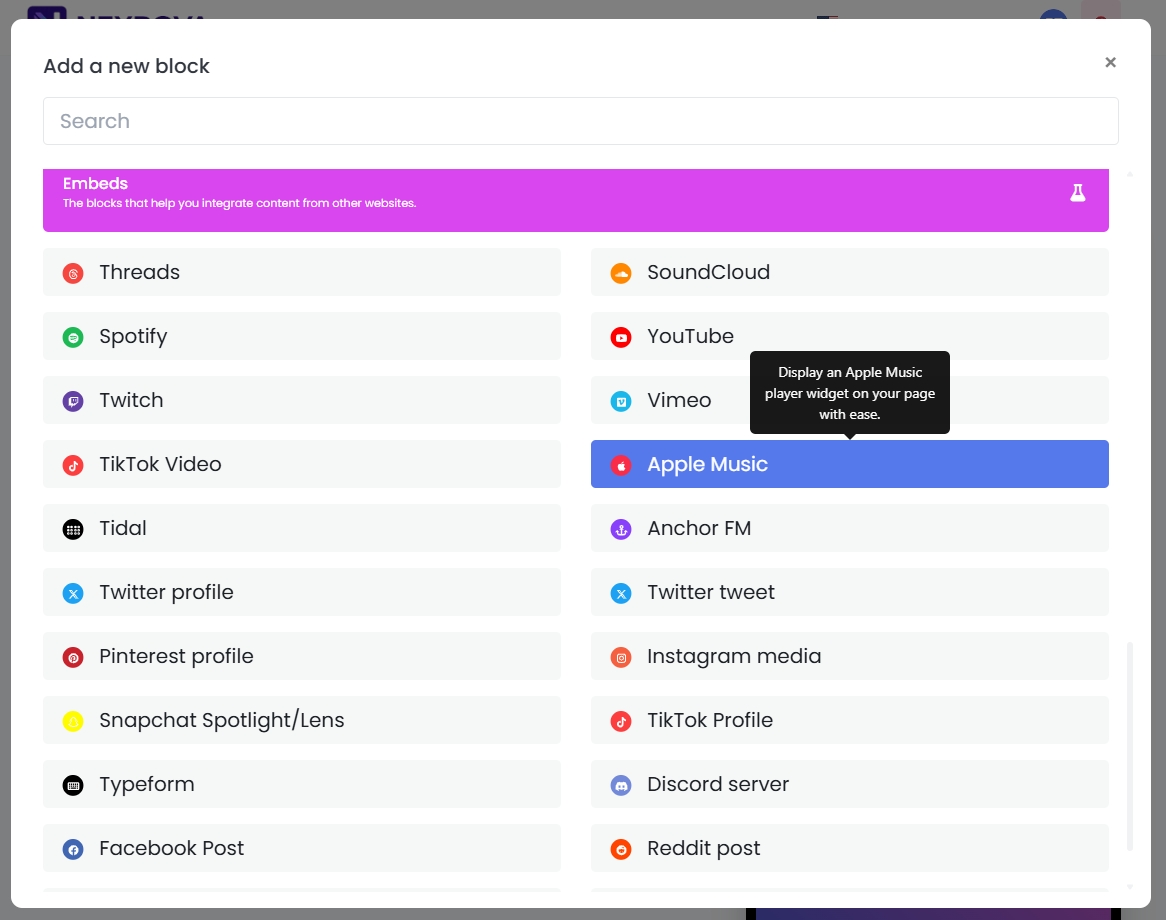
15. Add Blocks to Your Page
Click Block, then Add Block, and select the element you want to add.
You can add avatars, buttons, links, descriptions, social media icons, and many other blocks that define your page structure.
Arrange the blocks strategically so visitors are guided toward your primary goal, whether that is visiting a website, booking a service, making a purchase, subscribing, or viewing important information.

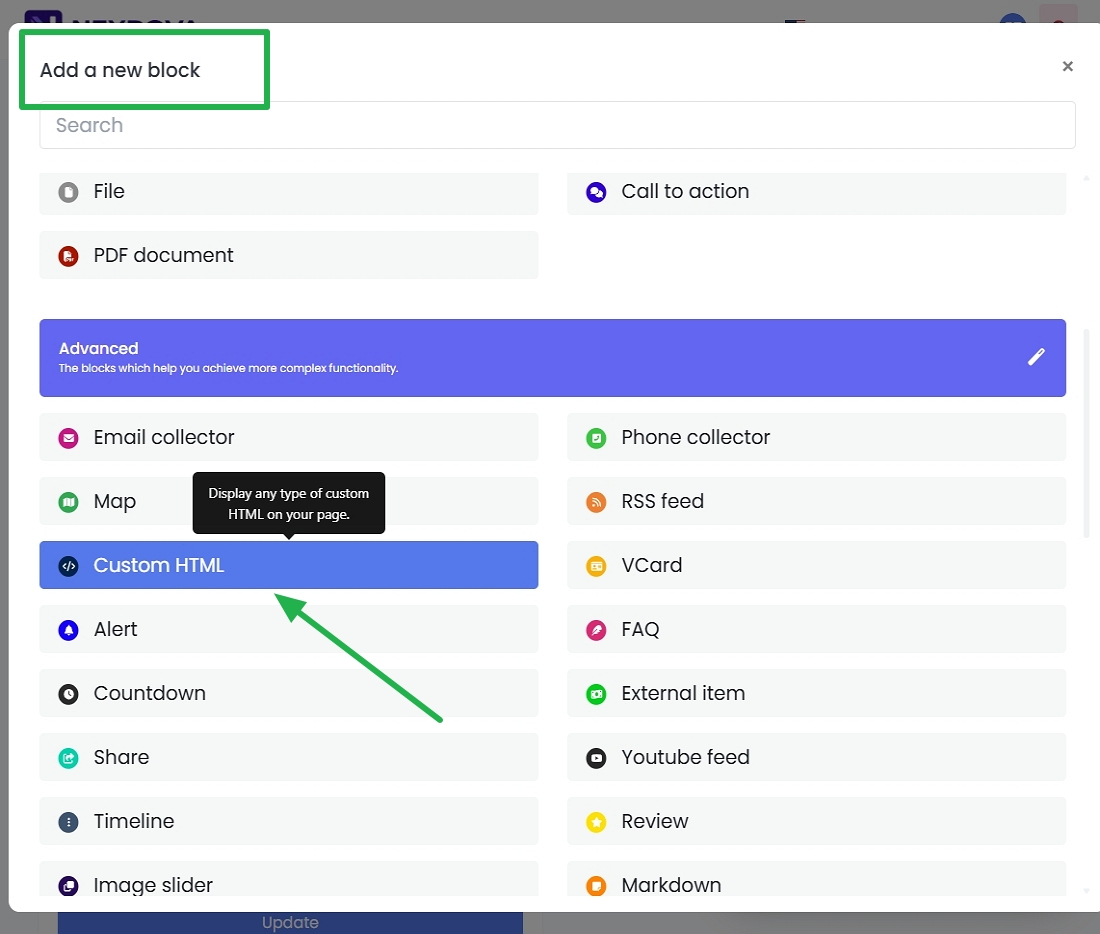
Using the Custom HTML Feature in Neyrova
The Custom HTML feature allows you to insert your own HTML code directly into a biolink page. This makes it possible to create not only individual elements but also complete promotional landing pages.
Use Cases
- Integrations — Subscription forms, chat widgets, maps, counters, and other embedded tools.
- Personalization — Custom buttons, banners, and styled content blocks.
- Landing Pages — Insert complete HTML/CSS/JS layouts and transform your biolink page into a fully customized landing page.
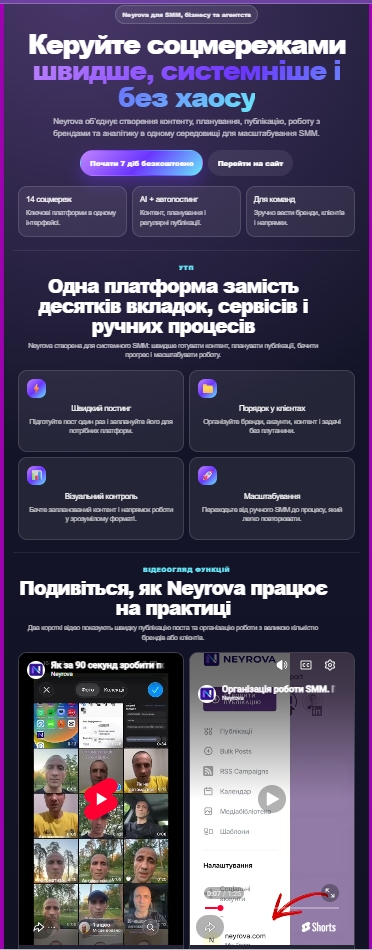
Example of a landing page built using Custom HTML:
Neyrova Recommendation
Use Custom HTML when you need functionality beyond the standard blocks. It is the perfect tool for creating unique, highly customized, and feature-rich pages.
This can be done in less than 10 minutes with the help of AI.
Summary
With Neyrova, you can create a Biolink page, configure its URL, design, SEO settings, UTM parameters, access options, categories, and add the blocks you need.
Once configured, your page is ready to be used in social media profiles, advertising campaigns, brand pages, or personal accounts.